Creating the Perfect Handmade Gift with a Mother’s Day Card SVG
There is a distinct satisfaction in handing someone a gift that you created from scratch. It carries a weight and personal touch that store-bought items simply cannot replicate. When it comes to honoring the special women in our lives, a handmade card often becomes a cherished keepsake rather than just a vessel for a greeting. This is where digital design files, specifically a Mother’s Day Card SVG, become an invaluable tool for crafters of all skill levels. These files allow you to produce professional-looking, layered paper crafts using your cutting machine, bridging the gap between amateur enthusiasm and polished results.
However, diving into the world of digital cut files can be surprisingly tricky if you are not prepared. Many beginners assume that downloading a file is the end of the process, only to find themselves frustrated by weeding issues, alignment errors, or material waste. Understanding the nuances of how these designs work is crucial for a smooth crafting experience. By avoiding common pitfalls, you can ensure that your final project is as beautiful as the preview images suggest.
Understanding the Layered Design Complexity
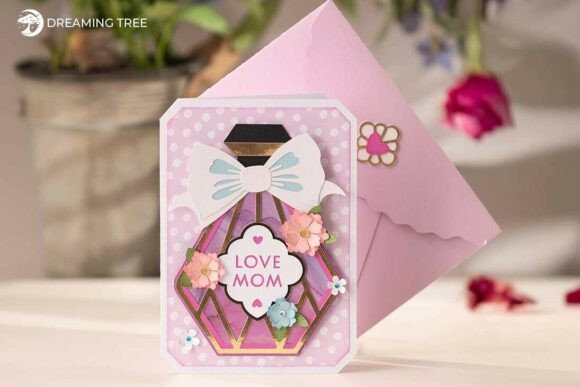
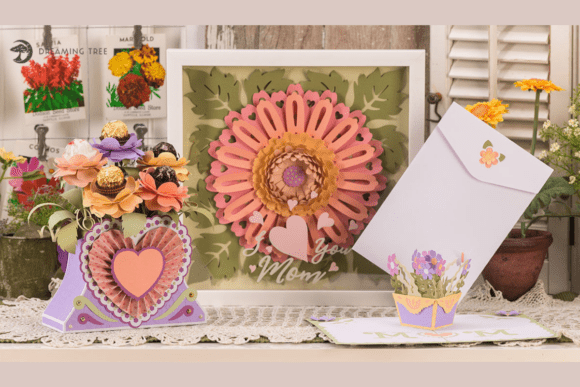
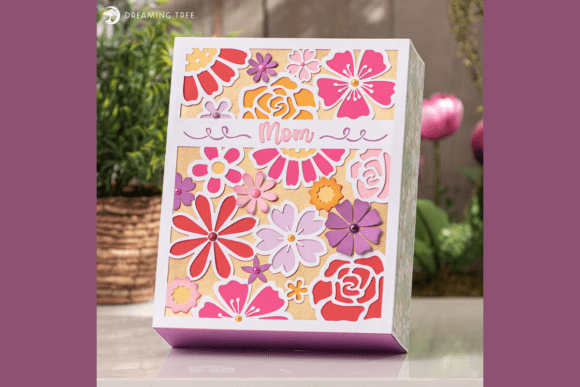
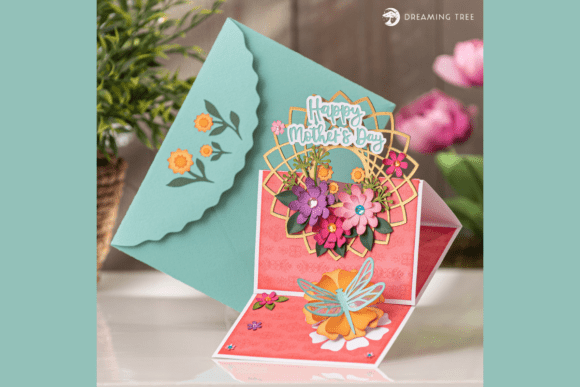
One of the most frequent misunderstandings involves the complexity of layered designs. A high-quality Mother’s Day Card SVG often features multiple layers to create depth and dimension. For instance, a floral wreath design might have separate layers for the base leaves, the shadow effects, the main blossoms, and the text sentiment. Beginners often overlook the importance of layer management in their cutting software.
If you do not properly organize these layers before sending them to your machine, you may find yourself cutting the same shape multiple times on the wrong color cardstock. This leads to wasted materials and significant frustration. To avoid this, always take time to review the layer panel in your design software. Ensure that each color corresponds to the correct piece of the puzzle. A helpful practice is to use the "attach" or "weld" functions where appropriate to keep complex elements together during the cutting process.
The Critical Role of Material Selection
Another area where crafters often stumble is material choice. The visual appeal of a card relies heavily on the contrast and texture of the paper used. Using a generic supply list without considering the specific weight and finish of your cardstock can result in a flimsy or unbalanced final product. For a design featuring dimensional blossoms and a sturdy envelope, standard printer paper will not suffice.
You need cardstock that holds its shape. For example, using 12x12 inch Robin’s Egg cardstock for the base provides stability, while lighter 8.5x11 inch sheets in colors like Grape, Leaf, or Melon are perfect for intricate floral details. If you choose paper that is too thick for delicate details, your machine may tear the material during weeding. Conversely, paper that is too thin will not support the layered structure, causing the card to sag. Always check the recommended weight for your specific cutting machine and test cut a small section if you are trying a new brand.
Ignoring Assembly Instructions and Legends
It is tempting to skip the documentation and jump straight to cutting, but this is a mistake that costs time in the long run. Most premium SVG packages include a PDF legend or guide. This document is not just filler; it is your roadmap. It tells you exactly which color corresponds to which layer and often provides tips on assembly order.
Without this guide, you might assemble the card in the wrong order, trapping glue tabs underneath layers where they cannot adhere properly. This compromises the structural integrity of the card. Take five minutes to read through the provided legend. Note any specific instructions regarding the envelope construction, as this is often the most technically challenging part of the set. Having a clear plan before you apply the first drop of adhesive ensures a cleaner, more professional finish.
Overlooking Machine Compatibility and Settings
While SVG files are universally compatible with most cutting machines, the settings required to cut them are not. A setting that works perfectly for a simple vinyl decal will likely fail when cutting multiple layers of heavy cardstock. Many users forget to adjust their blade depth, pressure, and speed settings for layered paper projects.
If your blade is too dull or the pressure is too low, you will experience incomplete cuts, forcing you to re-cut pieces and wasting material. If the pressure is too high, you risk cutting through your mat. Before starting your main project, perform a test cut using the specific cardstock you have selected. This small step can save you from ruining expensive materials. Additionally, ensure your cutting mat is clean and sticky enough to hold the paper securely, especially when cutting intricate floral shapes that are prone to shifting.
Neglecting the Finishing Touches
The difference between a good card and a great one often lies in the finishing touches. Rushing the assembly phase can lead to visible glue marks, misaligned layers, or crooked text. When working with a design that includes a "Happy Mother’s Day" sentiment front and center, precision is key. Use tweezers to place small floral accents and a bone folder to crisp up folds.
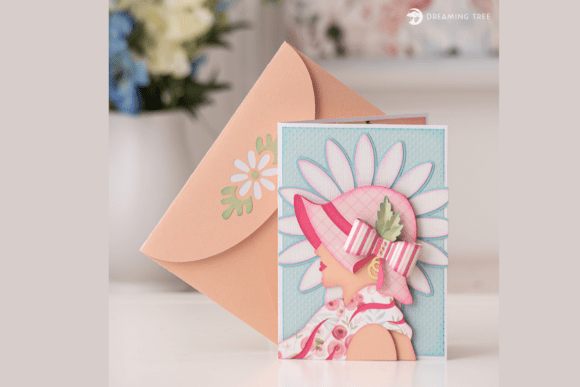
Furthermore, do not neglect the envelope. A coordinating envelope with floral accents completes the set and elevates the presentation. If the envelope is poorly constructed or does not match the card’s aesthetic, it detracts from the overall impact. Take your time to fold and glue the envelope carefully, ensuring the flaps align perfectly. This attention to detail shows the recipient that every aspect of the gift was considered with care.
Making the Right Choice for Your Project
When selecting a Mother’s Day Card SVG, look for designs that offer comprehensive support. A good package should include not just the SVG file, but also a video tutorial and a supply list. These resources indicate that the designer understands the challenges crafters face and has taken steps to mitigate them. Avoid files that lack documentation or have poor reviews regarding cut accuracy.
Consider the size and scalability of the design. While many SVGs can be resized, doing so may affect the proportion of delicate elements. A design intended for a 7x5 inch card may not translate well if scaled down to a smaller size without adjusting line thicknesses. Stick to the recommended dimensions unless you are experienced in modifying vector paths. By choosing a well-supported design and following best practices for material selection and assembly, you can create a heartfelt, professional-quality gift that truly celebrates Mom in style.